The Timeline
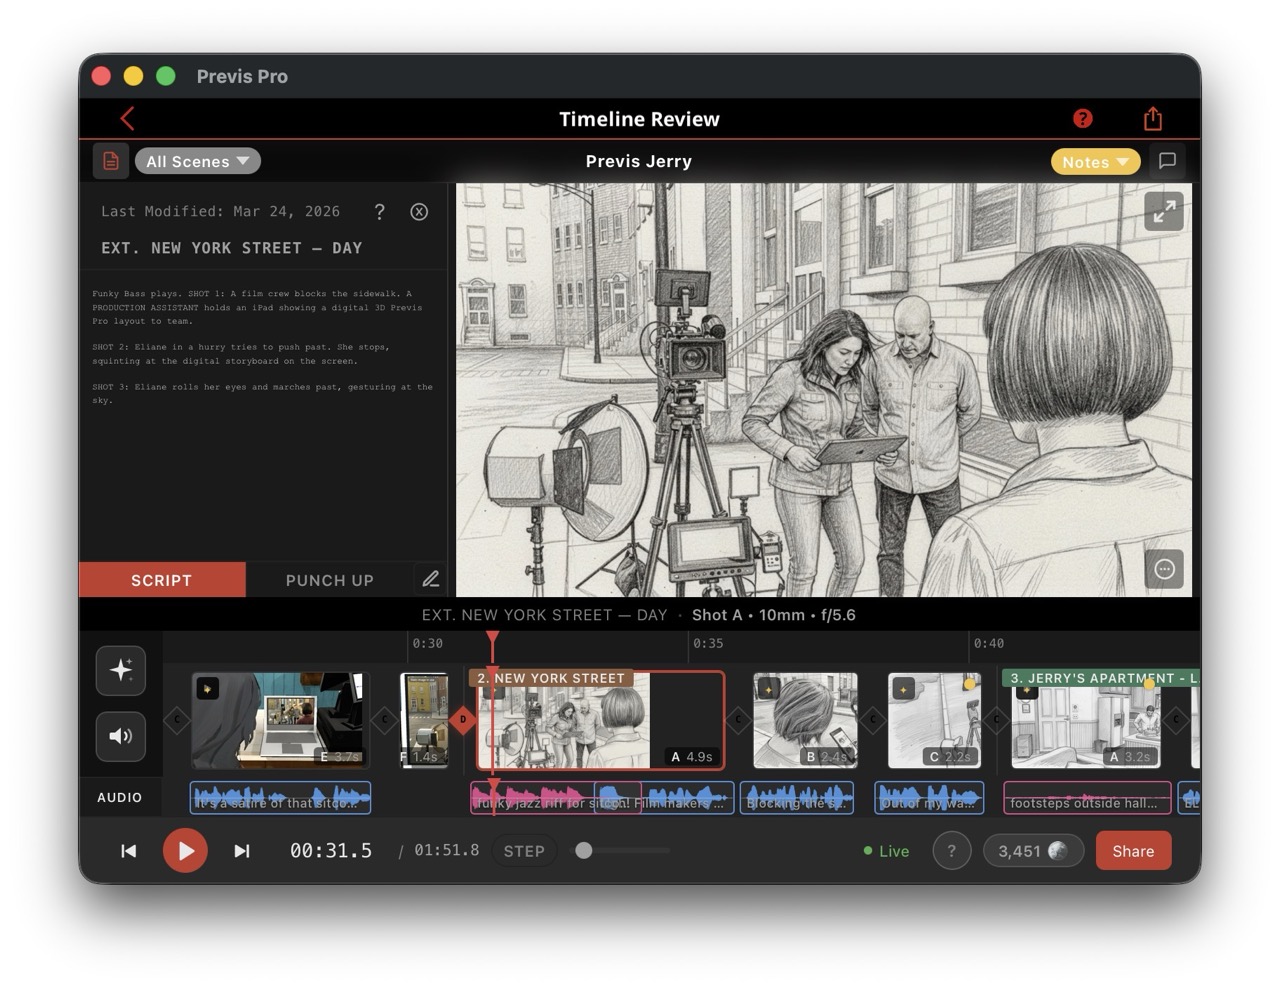
The Timeline is the editorial heart of Previs Pro — a horizontal sequence of shots with integrated audio tracks, playback controls, and AI workspaces. Shot timing, AI enhancement, and audio generation all happen here.
The viewer displays your current shot as a 3D render, AI-generated image, or video clip. It's replaced by the AI or Audio Workspace when those panels are open. A pencil overlay gives quick access to drawing, recording, and text-to-speech tools.
Each shot appears as a colored bar in the Shot Lane, color-coded by scene, with its thumbnail, number, duration, and status badges for AI enhancement, attached video, and approval state. Drag the right edge of any shot to adjust its duration; drag the shot itself to reorder within a scene. Clicking a shot in the viewer reveals a quick-action menu for AI enhancement, audio generation, commenting, reverting to a live 3D render, and more.
Below the Shot Lane, four audio tracks handle Dialog, Music, SFX, and Voiceover, shown as waveform clips. These expand when the Audio Workspace is open.
The Transport Bar runs along the bottom with play/pause, skip, timecode, zoom, and workspace toggles. Shuttle control (J/K/L) supports variable-speed review. A Step Mode pauses at each shot boundary for shot-by-shot evaluation.
The Scene Selector filters the timeline to a single scene or shows the full project. Shot and scene numbering is fully configurable — letter or digit suffixes, separators, ordering, and a lockable numbering system for production.
Transitions between shots — cut, dissolve, or fade — are set by clicking the gap between any two shots. Where both shots have AI-generated images, the Timeline can generate a smooth AI video transition between them.
Three side panels are available: Comments, Script (screenplay text synced to the playhead), and Generation History.
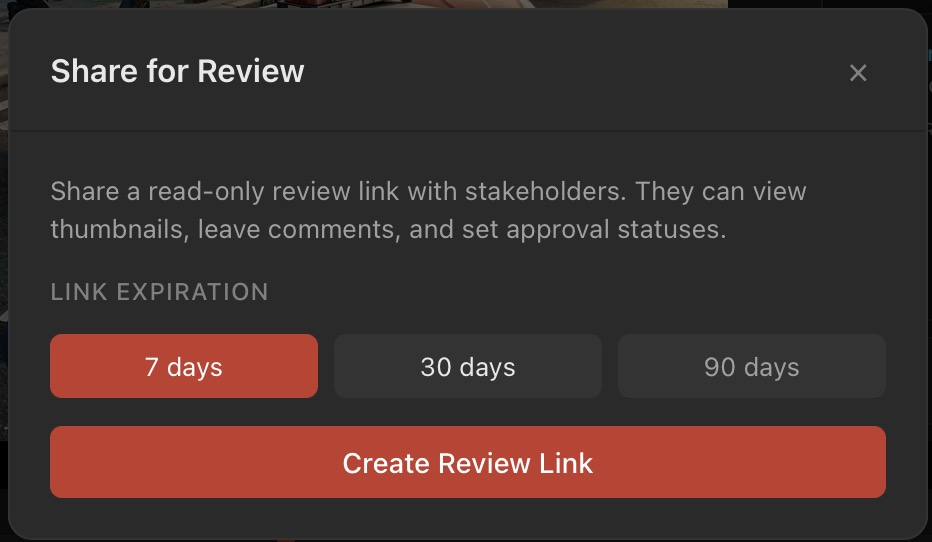
Read more on the wiki, or see the initial release update. Here's a video showing a whole 3 shot scene being built start to finish in a few minutes, including use of the timeline.
