THERE ARE MANY WAYS TO FIND PROPS:

  1. From the ADD menu (Pencil in top bar), select PROP then NEW PROP to choose from the large selection of common objects included inside Previs Pro.
  2. From the same menu select CREATE CUSTOM to have AI generate a rough prop based on a text description. To read more, tap here.
  3. To find and / or import props and sets from the internet or you've made, tap here.
  4. Images are fast and easy and can be used as props as well, find out more tap here.
  5. Basic shapes like cubes and spheres make blocking out fast and effective.

HOW TO ADD PROPS

Start by adding a prop from the prop library.
Select the pencil icon. The Add Objects menu appears.
From the Add Objects menu, select the Prop icon or draw the shape.
From the Add Objects menu, select the Prop icon, then New Prop.
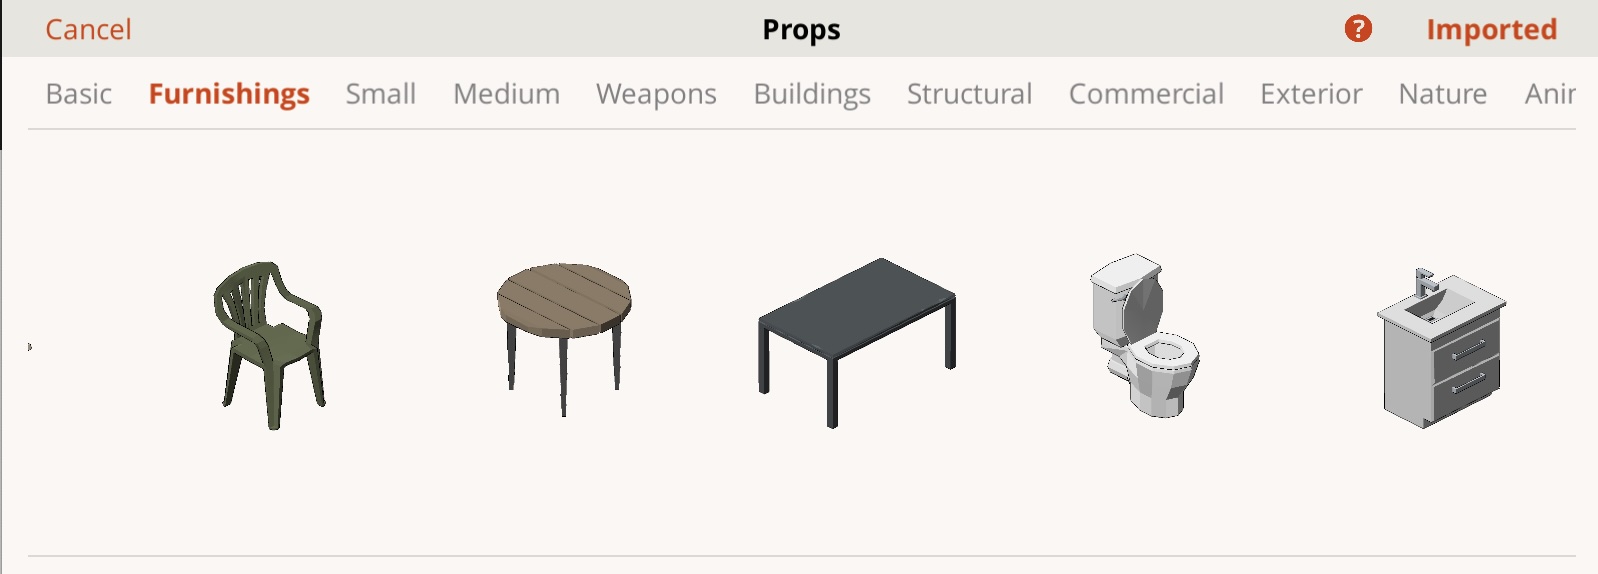
Scroll through the Props categories to find the right prop. Select it.
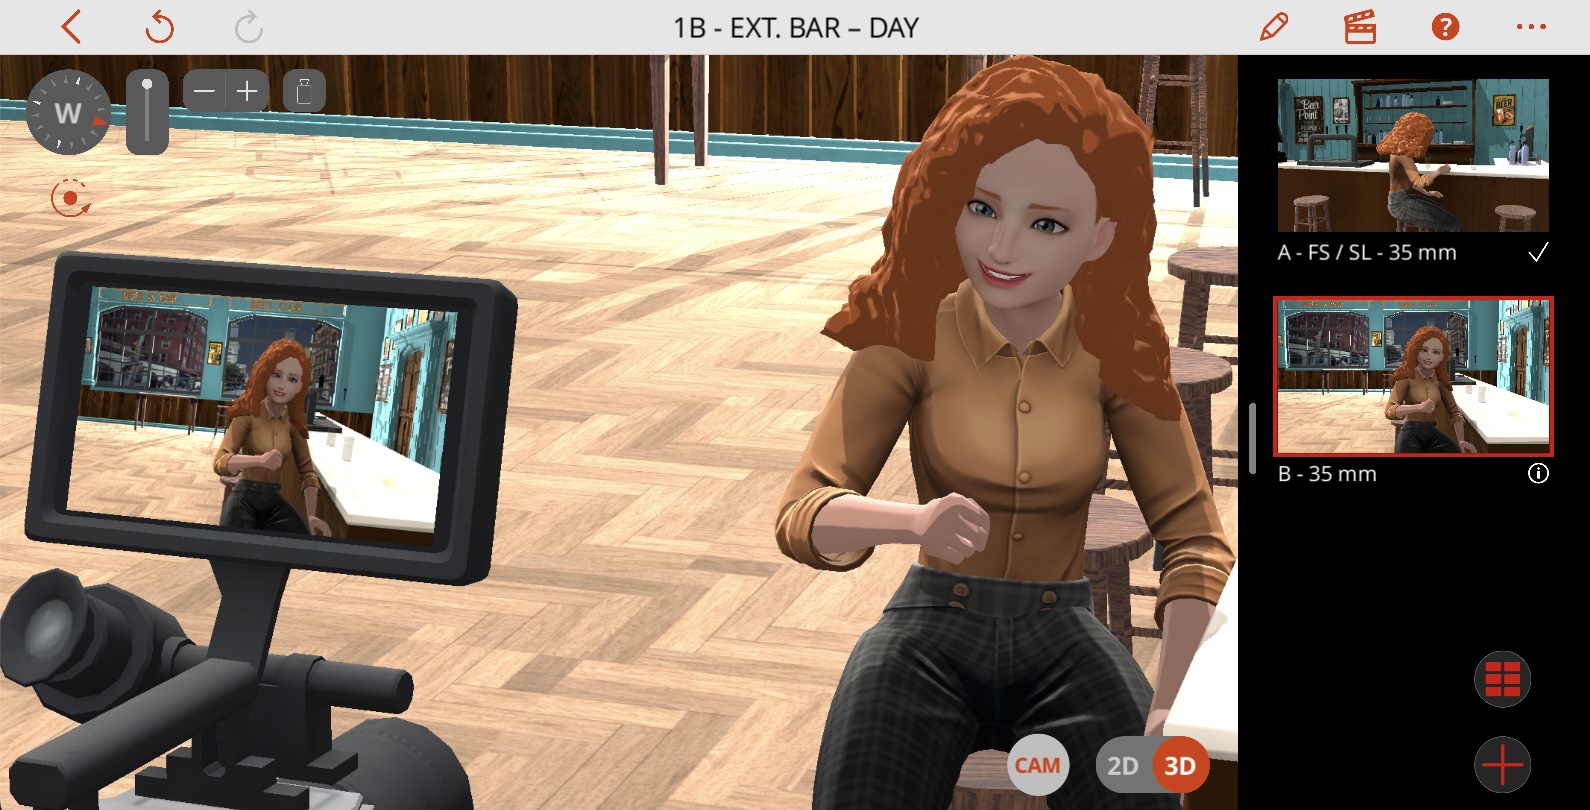
Your new prop appears in your shot. Position it with the horizontal, vertical, and rotational controls.
Your new prop appears in your shot. Position it with the horizontal, vertical, and rotational controls. Occasionally in complicated scenes you might not see your new prop. Switching to 2D and zooming into the center usually lets you see it, once selected you can switch back to 3D and move it around, raise it off the floor, etc.